


How To Get The Perfect Natural DIY Manicure
Who doesn’t love having beautifully manicured nails but when they come at the expense of your health and wallet its time to find a better way to keep your talons looking their best. We have put together an easy to follow guide to help you “nail” your DIY manicure using our favourite natural nail and hand care products. We promise you will love the experience and results so much that this might just become one of your regular Self Care Sunday routines.
What You'll Need
- An hour of uninterrupted YOU time
- A towel
- Natural nail polish remover
- Cotton pads
- Emery board
- Natural hand or body scrub
- Small bowl filled with water
- Jojoba oil for cuticles (or oil of your choice e.g. coconut, almond, olive etc)
- Orange stick
- Non toxic (preferably 10 free) nail polish in a base coat, shade of your choice and top coat OR enjoy fresh, unpainted nails!
- Natural hand cream

What to do
1. To start with find somewhere comfortable as you will be spending a bit of time sitting here, for example a dining table, study desk, dressing table etc. Feel free to put on some music, a podcast or just enjoy the silence and let your mind rest too.
2. Lay out your towel and have each of the items listed above at an arm’s reach.
3. Take off all jewellery from your hands and fingers.
4. Start by removing any old nail polish from your nails. We love soy based natural nail polish removers as they don’t have any fumes and are gentle and hydrating on the nail surface, cuticles and surrounding skin.
5. Make sure your nails are dry then take your emery board and file nails (in one direction) to your shape of choice; round, oval, almond, square, squoval etc. It can take some time to find the best shape to suit your nails and hands. If you don’t know where to start then its a good idea to follow the natural shape of your nail bed and cuticle. Oval and almond shaped nails make fingers look longer and more slender and suit a shorter nail bed whereas round and square nails look neat and polished on deep nail beds and longer fingers.

6. Once you are happy with the shape of your nails apply a small scoop of natural scrub and gently massage into hands and fingers (or take it all the way up your arms for super soft skin). Rinse the scrub completely using your small bowl of water and pat hands dry on your towel.
7. Next, grab your cuticle oil and apply one pump to your index finger then massage into each cuticle on the opposite hand. Take your orange stick and wrap a cotton pad around one of the ends. Gently press this end into your cuticle pushing it back toward the nail bed. This can take some time to do but be gentle and patient otherwise you will damage the nail bed which will in turn weaken your nails. It can be tempting to trim cuticles but this only promotes growth (they will grow back thicker and stronger) comprises the strength of your nails and can lead to infection - ew! Once you have finished one hand, apply a pump of oil to your other index finger and repeat the process on your other hand. If your cuticles are extremely tough it may be necessary to soak fingers in some warm water along with a few drops of oil to soften up the cuticle before trying to push it back.

8. When you are happy with your cuticles reach for your nail polish remover and do a quick wipe over each nail to ensure there is no oily residue.
9. You might decide you like the look of your natural nails - go to step 10.
Now its time to paint your nails! Start with a base coat, this will protect the nail from being stained by the polish and prolong the life of your colour. Next apply your chosen shade, we recommend 2 thin coats of polish with a 5 minute wait time in between. Start with your left hand and paint from pinky finger to thumb before moving onto your right hand and painting from thumb to pinky finger, this will avoid you hovering over (and potentially messing up) a freshly painted nail. Always paint in 3 strokes - left, then right, then down the centre - the polish should settle leaving a smooth coverage. Lastly, you can apply a single layer of top coat to seal in colour and help protect it from chipping. Once your nails are painted its time to either relax and meditate or keep yourself entertained with a podcast or your favourite tv show so that you won’t be tempted to touch anything and spoil your polish! Try and leave nails to dry for at least 30 minutes.
10. Finish off your manicure with a generous dollop of your favourite natural hand cream massaged into hands, arms and elbows. Don’t attempt any activities that might ruin your polish (no more chores for you today) as it will take another hour for it to set and be completely dry.
TIP: Clean your bowl with hot soapy water, dry off, then pop all of the items for your manicure inside and store away ready to grab for next time!

We LOVE
Aila 3 in 1 Soy Based Nail Color Remover With Pure Argan Oil
Priti NYC Soy Nail Polish Remover
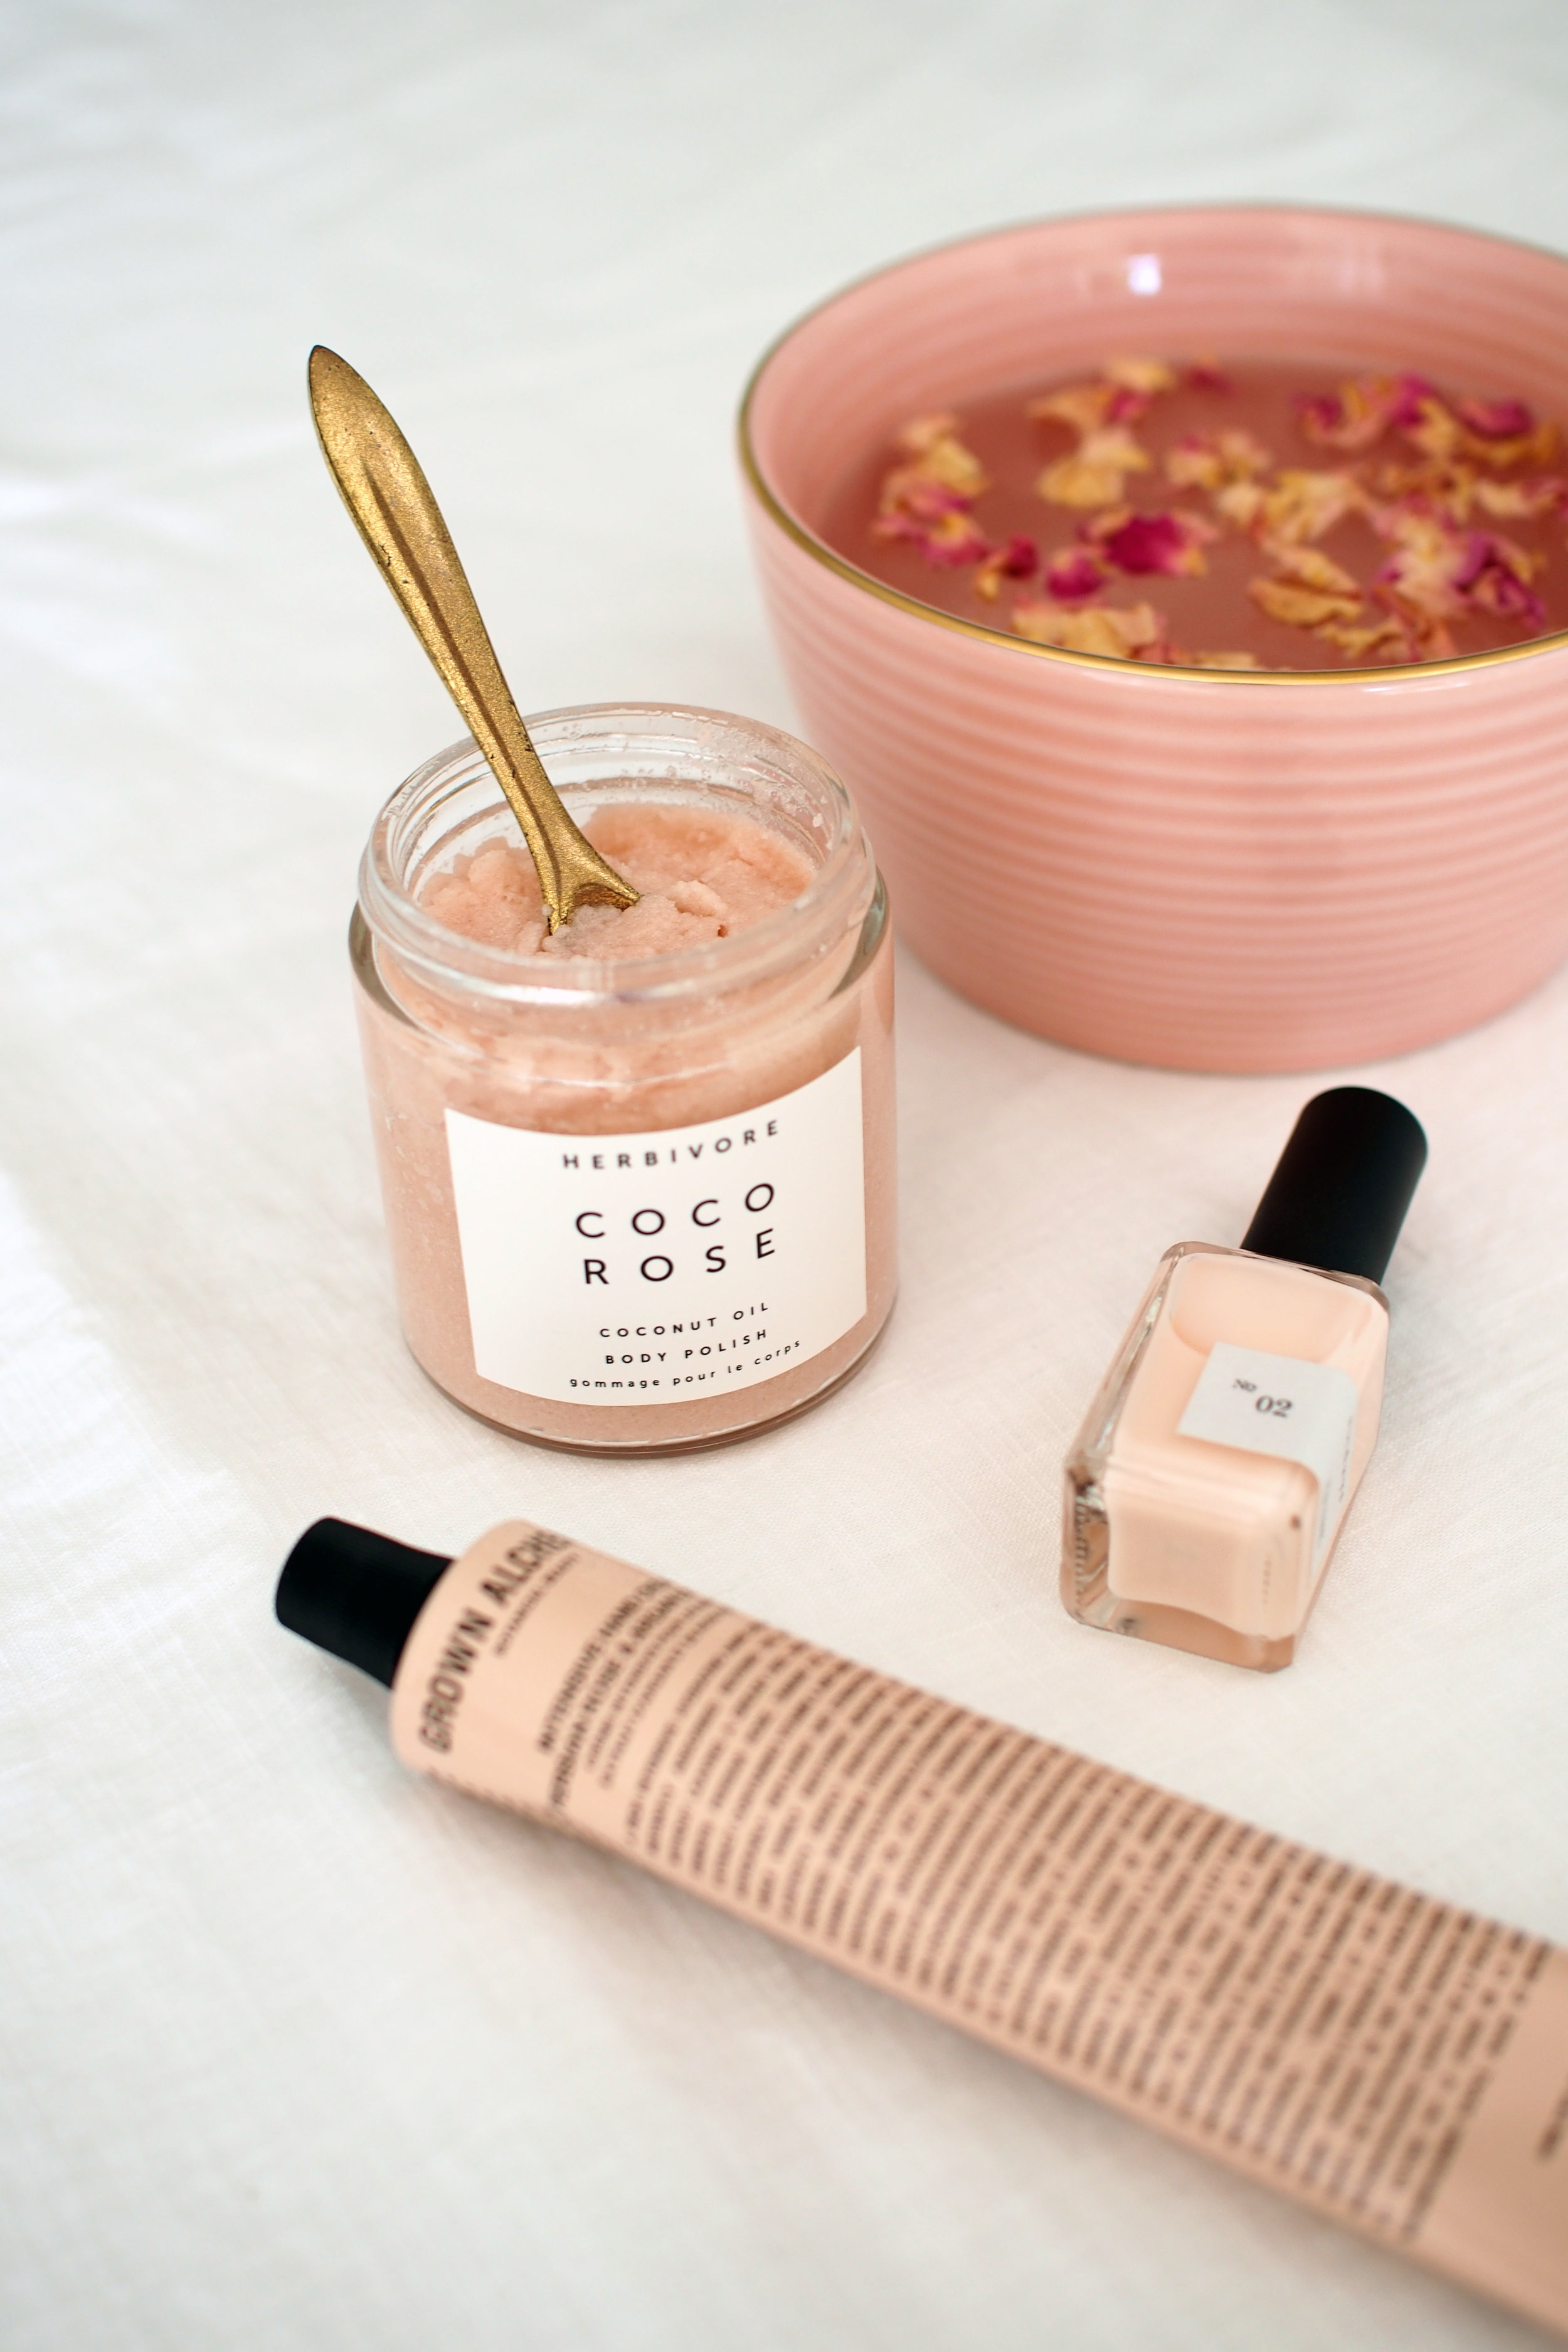
Herbivore Botanticals Coco Rose Body Polish
Indie Lee Coconut Citrus Scrub
The Jojoba Company 100% Natural Australian Jojoba
Sundays Nail Polish in No.02 (French Pink) and No.15 Classic Red
Grown Alchemist Intensive Hand Cream: Persian Rose & Argan Extract
Photography by Beauty Aestate


